Wps Button on Cox Router
August 13, 2023
Hey there! In this article, I’ll be diving into the world of Cox routers and exploring the intriguing Wps button. Have you ever wondered what it does and how to use it effectively? Well, you’ve come to the right place!
I’ll guide you step-by-step, provide troubleshooting tips, and share best practices for utilizing the Wps button on your Cox router. So, let’s get started and enhance your router experience together!
What Is a Wps Button on Cox Router?
The WPS button on a Cox router is used to quickly connect devices to the Wi-Fi network. It stands for Wi-Fi Protected Setup, and it simplifies the process of connecting devices to the router without the need for entering a password.
As a user, I find this feature extremely convenient and time-saving. Whenever I need to connect a new device, such as a smartphone or a tablet, to my Cox Wi-Fi network, all I have to do is press the WPS button on the router and then follow the instructions on the device’s screen. It eliminates the hassle of manually entering a complex password, especially when dealing with multiple devices.
The WPS button establishes a secure connection between the device and the router, ensuring that only authorized devices can join the network. It is a great feature that makes setting up and connecting to the Wi-Fi network a breeze.
How to Locate the Wps Button on Cox Router
When setting up my Cox router, I was curious about the WPS button and how to use it.
In this discussion, we will explore the location of the WPS button on a Cox router and how to activate it.
WPS Button Location
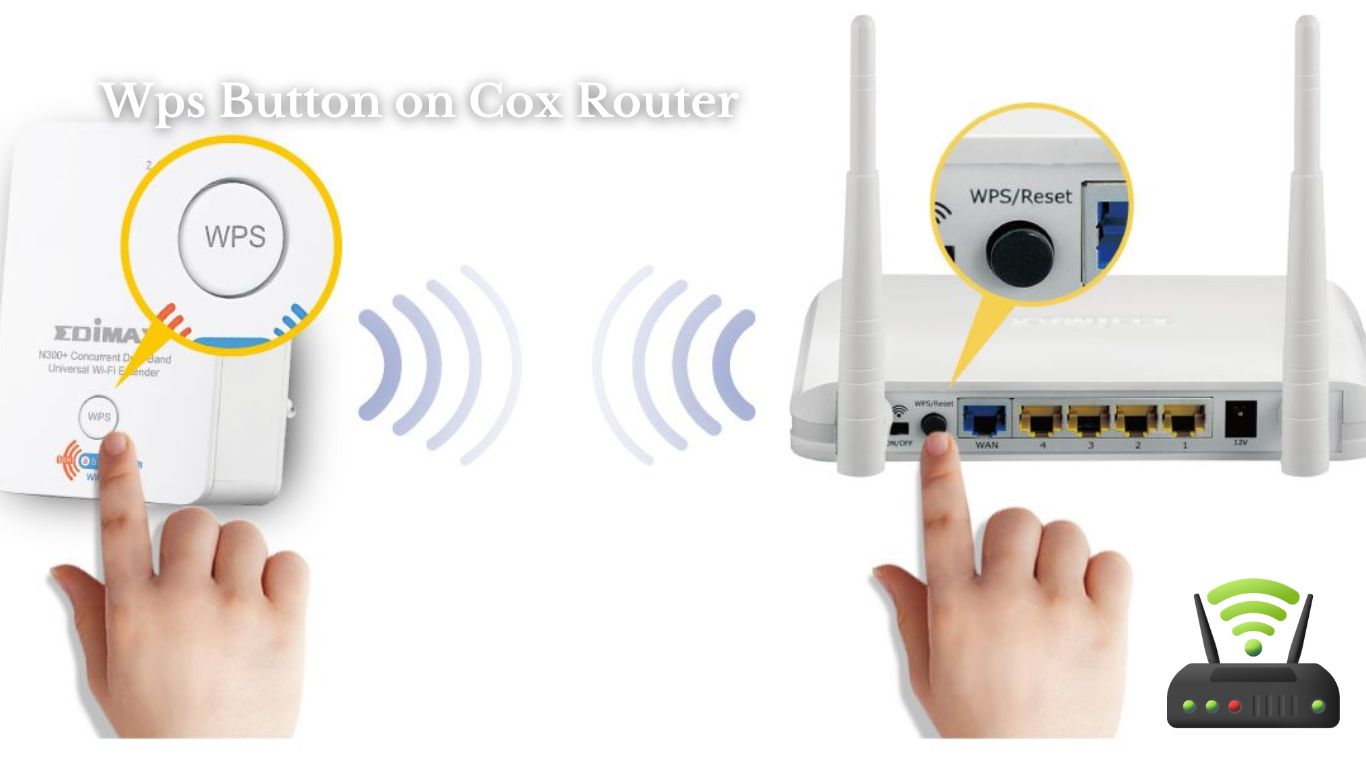
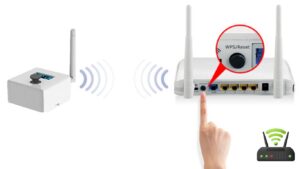
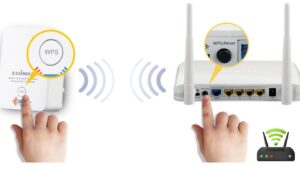
To find the WPS button on your Cox router, simply look for a small button with the label ‘WPS.’ It is usually located on the front or back panel of the router. I found mine on the back, near the Ethernet ports.
The button is easily identifiable as it is labeled ‘WPS’ in bold letters. This button plays a crucial role in connecting devices to your Wi-Fi network quickly and securely.
When you press the WPS button, it initiates a process that allows compatible devices to connect without needing to enter a password. It’s a convenient feature that saves time and eliminates the hassle of manually entering Wi-Fi credentials.
Activating WPS on Cox
Activating WPS on my Cox router is a simple process that allows compatible devices to connect quickly and securely without the need for a password. It’s a convenient feature that I frequently use to connect my devices effortlessly.
Here are four reasons why I love using WPS on my Cox router:
- Ease of Use: With just a press of a button, I can easily connect my devices to the router without the hassle of entering a password.
- Quick Connection: WPS enables my devices to establish a connection with the router almost instantly, saving me time and effort.
- Enhanced Security: Despite the ease of use, WPS provides a secure connection by using advanced encryption protocols to protect my data.
- Multiple Device Support: WPS allows me to connect multiple devices simultaneously, making it convenient for my entire household.
Overall, activating WPS on my Cox router has greatly simplified the process of connecting devices and provided a secure and efficient way to access the internet.
Understanding the Function of the Wps Button on Cox Router
As an expert in network security, I want to address the potential security risks associated with the WPS feature on Cox routers.
It is important to understand the vulnerabilities that can arise from using WPS and how to mitigate them.
In addition, I will also discuss the setup process for WPS on Cox routers, providing step-by-step guidance on how to enable or disable this feature to enhance network security.
WPS Security Risks
WPS security risks can be minimized by disabling the WPS feature on your Cox router. It is important to be aware of the potential risks associated with WPS, as it can leave your network vulnerable to unauthorized access.
By disabling WPS, you eliminate the possibility of someone easily bypassing your network security. Hackers can exploit the WPS feature to gain access to your network by guessing or brute-forcing the eight-digit PIN. Disabling WPS ensures that this vulnerability is eliminated, making it more difficult for unauthorized users to connect to your network.
It is always better to prioritize security and take proactive measures to protect your network. Therefore, I highly recommend disabling the WPS feature on your Cox router to enhance the overall security of your network.
WPS Setup Process
To set up WPS, you’ll need to locate the appropriate button on your Cox router. It’s usually labeled with the WPS symbol, which looks like two arrows forming a circle. Once you’ve found it, simply press and hold the WPS button for a few seconds.
You’ll notice that the WPS LED on your router starts blinking, indicating that it’s in setup mode. At this point, you’ll have a limited time window to connect your devices using WPS. On your device, go to the Wi-Fi settings and select the WPS option.
It will then search for nearby WPS-enabled routers. Once it finds your Cox router, simply select it, and the connection will be established automatically. Setting up WPS is quick and convenient, making it easier to connect your devices to your Cox router.
Step-by-Step Guide to Using the Wps Button on Cox Router
The first thing you’ll want to do is locate the WPS button on your Cox router. It’s usually located on the back or side of the router and labeled as “WPS”. Once you’ve found it, follow these steps to connect a device using the WPS button:
- Press and hold the WPS button on the router for a few seconds until the WPS LED starts flashing.
- On your device, go to the Wi-Fi settings and select the option to connect using WPS.
- Wait for a few seconds while your device tries to connect to the router.
- Once the connection is established, the WPS LED on the router will turn solid, indicating a successful connection.
Using the WPS button can be a convenient way to quickly connect devices to your Cox router without having to enter the Wi-Fi password manually. However, it’s important to note that not all devices support WPS, so make sure your device has WPS capability before attempting to use this feature.
| WPS Button Steps | |
|---|---|
| Step 1 | Press and hold the WPS button on the router for a few seconds until the WPS LED starts flashing. |
| Step 2 | On your device, go to the Wi-Fi settings and select the option to connect using WPS. |
| Step 3 | Wait for a few seconds while your device tries to connect to the router. |
| Step 4 | Once the connection is established, the WPS LED on the router will turn solid. |
Troubleshooting Common Issues With the Wps Button on Cox Router
If you’re experiencing problems with the WPS button on your Cox router, troubleshooting common issues can help resolve the issues.
One common issue is that the WPS button may not be functioning properly. To troubleshoot this, make sure that the WPS button on your router is not damaged or stuck. Press the button firmly and see if it clicks or if there is any resistance. If the button seems to be stuck or not working, you may need to contact Cox for further assistance.
Another common issue with the WPS button is that it may not be enabled on your router. To check if WPS is enabled, access your router’s settings by typing the IP address into your web browser. Once in the settings, navigate to the WPS section and ensure that it is turned on. If it is already enabled, try turning it off and then back on again to see if that resolves the issue.
Lastly, interference from other devices can also cause problems with the WPS button. Make sure that there are no other devices nearby that could be interfering with the signal. Move any wireless devices away from the router and see if that helps. If not, you may need to try resetting your router to its factory settings or contacting Cox for further assistance.
Tips and Best Practices for Using the Wps Button on Cox Router
One important tip for using the WPS button on your Cox router is to ensure that it is enabled in the router’s settings. This button allows you to quickly connect devices to your Wi-Fi network without having to input a password.
To make the most of this feature, here are a few additional tips and best practices:
- Placement: Find the optimal location for your router to ensure a strong and stable WPS connection. Avoid placing it in a closed cabinet or near other electronic devices that may interfere with the signal.
- Timing: Press the WPS button on your router and then on the device you want to connect within a specific timeframe. This timeframe is usually around 2 minutes, but it may vary depending on your router model.
- Security: While WPS offers convenience, it is important to be mindful of security risks. After connecting a device using the WPS button, consider changing the default password to enhance your network’s security.
Enhancing Security When Using the Wps Button on Cox Router
In my previous discussion, I provided some useful tips and best practices for using the WPS button on the Cox router. Now, I want to focus on enhancing security when utilizing this feature.
While the WPS button offers convenience in connecting devices to your network, it can also pose a potential security risk if not properly secured. Therefore, it is crucial to take additional steps to protect your network from unauthorized access.
One effective way to enhance security is by disabling the WPS feature altogether. By doing so, you eliminate the possibility of someone exploiting this vulnerability to gain unauthorized access to your network. Another option is to use the WPS button sparingly and only when necessary.
To help you understand the steps involved in enhancing security, refer to the table below:
| Steps to Enhance Security When Using WPS Button |
|---|
| 1. Disable the WPS feature on your Cox router. |
| 2. Only enable the WPS feature when needed. |
| 3. Change the default WPS PIN to a unique, complex one. |
| 4. Regularly update your Cox router’s firmware to ensure the latest security patches are installed. |
Frequently Asked Questions
Can I Use the Wps Button on My Cox Router to Connect Devices From Other Brands?
Yes, you can use the WPS button on my Cox router to connect devices from other brands. It simplifies the process by quickly establishing a secure wireless connection between the router and compatible devices.
What Is the Purpose of the Wps Button on the Cox Router?
The purpose of the WPS button on the Cox router is to easily connect devices to the Wi-Fi network without the need for entering a password. It simplifies the setup process.
How Can I Reset the Wps Button on My Cox Router?
To reset the WPS button on my Cox router, I would first locate the button, usually on the back or side. Then, I would press and hold it for about 10 seconds until the light blinks, indicating a successful reset.
Are There Any Limitations to the Number of Devices That Can Be Connected Using the Wps Button on the Cox Router?
Yes, there are limitations to the number of devices that can be connected using the WPS button on the Cox router. It can typically support up to 32 devices at a time.
Is It Possible to Disable the Wps Button on the Cox Router for Enhanced Security?
Yes, it is possible to disable the WPS button on my Cox router for enhanced security. By doing so, I can prevent unauthorized devices from connecting to my network through the WPS feature.
Conclusion
In conclusion, the WPS button on a Cox router is a convenient feature that allows for quick and easy connection to wireless devices. By following the step-by-step guide and understanding its function, users can effortlessly connect their devices to the router.
Additionally, troubleshooting common issues and following best practices will ensure a smooth and secure experience. Overall, the WPS button on a Cox router provides a user-friendly solution for wireless connectivity.